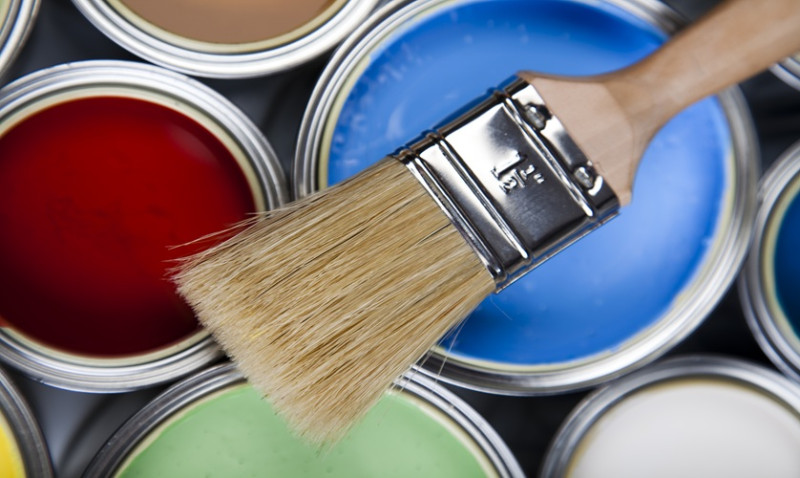
Painting skirting boards is a small DIY project that can have a big impact. Freshly painted skirting boards can instantly lift a room's appearance and provide the finishing touch that ties your décor together. Whether you're a beginner tackling your first DIY adventure or a professional looking for tips to achieve a smooth, flawless finish, this guide will walk you through each step clearly and simply.
What You'll Need to Paint Skirting Boards
Before you begin, make sure you've gathered all the tools and materials you’ll need. Using the right equipment will make the job easier, quicker, and will result in a more professional finish.
Here’s a checklist of the essential items:
| Tools | Materials |
|---|---|
| Paint brushes (angled or sash brushes work best) | Wood primer (if the board is bare or previously unpainted) |
| Masking tape or painter’s tape | Undercoat (optional, for improved adhesion) |
| Dust sheets or newspaper to protect the floor | Skirting board paint (gloss, satinwood or eggshell) |
| Sanding block or fine-grit sandpaper | Wood filler (if repairs are needed) |
| Bucket of soapy water & clean cloths | Caulk (for sealing gaps between the board and wall) |
Step 1: Prepare The Room
Clear the area around your skirting boards. Move furniture away from the walls and use dust sheets to cover your floors. This will help protect your surfaces from paint splashes and make cleaning up easier later on.
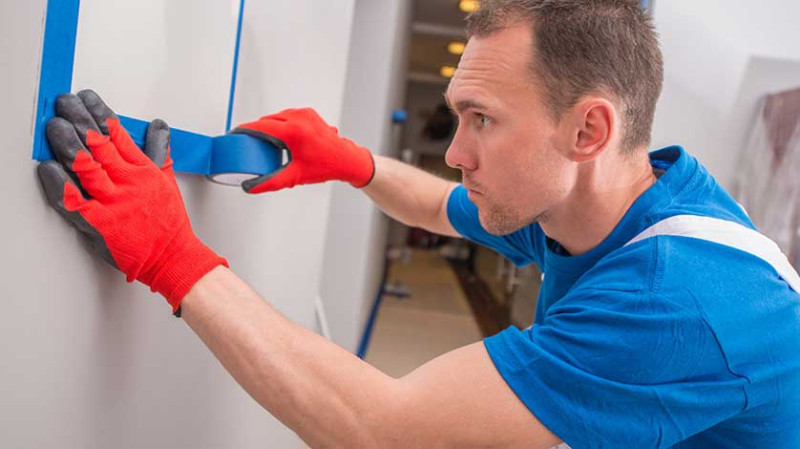
Use painter’s tape along the edges of the skirting boards – particularly where they meet the floor and the wall. This ensures you get crisp lines and avoid getting paint where it’s not wanted. If you're repainting skirting boards next to carpet, tuck the edge of the tape slightly under the skirting and pull the carpet back gently if possible.
Good lighting is key. Natural daylight is best, but if that’s not available, ensure you’ve got a bright task light so you can clearly see what you’re doing and spot any missed patches during the painting process.
Step 2: Clean and Repair the Skirting Boards
Before applying any paint, ensure your skirting boards are clean and smooth. Use a mild soap and warm water solution to remove any built-up grease, dust, or dirt. Make sure the surface is completely dry before moving on.
Inspect the skirting boards for dents, chips, or cracks. Small imperfections can be filled with wood filler. Apply it using a filling knife, leave it to dry, and then gently sand it smooth. Don't skip this step—filling and sanding will give you a much better end result.
Old, flaking paint should be sanded down until the surface is smooth. If the skirting is heavily varnished or glossy, light sanding helps the new paint adhere better. Wipe away any sanding dust with a damp cloth after this step.
Step 3: Apply Primer and Undercoat
Priming is essential if you’re painting over bare wood, MDF or stained wood, or changing from a dark colour to a lighter one. A good primer ensures the paint sticks properly and lasts longer. Use a wood-specific primer and allow it to dry completely according to the manufacturer’s instructions.
If you’re painting over existing paint work, especially if it’s in good condition, sometimes a primer isn’t necessary. However, applying an undercoat can still be a good idea to create a more even base colour—especially if you're switching from gloss to satin or eggshell.
Apply primer or undercoat using a high-quality brush, cutting in carefully along the edges. Don’t overload your brush with too much paint – thin, even layers are key to avoiding drips and brush marks.
Step 4: Apply Your Paint
Once your primer or undercoat has dried, it’s time for the main event: painting your skirting boards! Choose a durable paint finish – gloss gives a high shine, while satinwood or eggshell finishes offer a more modern, low-sheen look.
Dip your angled brush into the paint and tap off any excess. Apply the paint along the grain of the wood in long, smooth strokes. Start at the top edge of the skirting and work down. Be careful around the taped edges, and keep checking for runs or drips.
It’s better to apply two thin coats of paint rather than one thick one. This ensures better coverage, quicker drying times, and a smoother result. Allow the first coat to dry fully before applying the second—this usually takes around 6-8 hours depending on the type of paint.
Step 5: Remove Tape and Clean Up
Once your final coat of paint is fully dry, carefully remove the masking tape. Don’t wait too long, as dried paint can cause the tape to peel away your freshly painted finish.
Peel the tape back slowly at a 45-degree angle. If any paint has bled under the tape, use a small artist’s brush to touch up the affected area. It’s a good idea to keep a little paint in a sealed container for future touch-ups.
Dispose of used brushes and cloths appropriately, or clean them according to the paint type used (water-based or oil-based). Give the room a good airing out if the paint has a strong smell.
Tips for Professional Results
Achieving a pro-level finish doesn’t have to be reserved for tradesmen. With a few handy tips, even beginners can achieve stunning, professional-looking results.
- Choose quality over quantity: Invest in good brushes and paints. They not only make the job easier but also leave a better finish.
- Sand between coats: Lightly sanding between coats of paint with fine grit sandpaper helps provide a smooth, flawless finish.
- Work in sections: Don't try to paint the entire room in one go. Work around the room methodically to avoid missing areas or overlapping wet and dry patches.
- Use the right paint: For high-traffic areas, gloss paint is more durable. In modern décor settings, satinwood is often the preferred choice for its smooth, contemporary finish.
- Temperature & ventilation: Avoid painting skirting boards in very cold or humid conditions. The paint may not dry properly, and condensation could ruin your hard work.
Conclusion: A Small Job That Makes a Big Impact
Painting skirting boards might seem like a minor DIY task, but it can transform how polished and well-kept your interiors appear. With the right tools, proper preparation, and a little patience, this project can easily be tackled in a weekend—even by a total beginner.
By following these step-by-step instructions and incorporating professional tips along the way, you'll ensure your skirting boards are a standout feature in your home décor—not an afterthought. Whether you're a homeowner in Manchester giving your flat a refresh or a designer in London preparing a new build, learning how to paint skirting boards well is a must-have skill in your DIY toolkit.
Ready to get painting? Roll up those sleeves—your perfectly painted skirting boards await!

